The surface finish is an important part of the product design, it defines the tone and atmosphere of the product. The part could be shared by more application by only changing the design of surface finish, such as providing same product with different color.
The surface finish of the cavity area inside mold is a direct factor which affects the surface finish of part. Here discuss 3 kinds of most common design being applied into mold cavity area:
A. General polished surface finish: by sandpaper up to #1600
B. High polished surface finish: by sandpaper up to #10000
C. Textured surface finish: by texture
A. General polished surface finish
Parts made from mold cavity with this grad surface finish has matte look, they usually will be applied certain surface treatment before they are being sent to next step such as assembly/shipment. The surface treatments for parts includes painting, printing, coating, chrome plating…etc. This surface finish standard requires less amount of time and cost in mold development, manufacturer could transfer resources from development into surface treatment after molding (e.g. start mass production earlier) and provide more customized appearance options.
The advantage of applying this surface finish is that manufacturer could easily diversify single model product (single appearance profile assembled by same parts from same molding mold and process) with many colors, see example in Pic.-1.

B. High polished surface finish
Parts made from mold cavity with this grad surface finish has pretty shiny/smooth look, they usually being sent to next step such as assembly/shipment right after molding. This surface finish standard requires more amount of time and cost in mold development. The lead time in development is longer than surface finish type A, on the other hand, the mass production process would simpler. This surface finish standard usually applies to parts with higher quality requirements, such as transparent parts. For example: Head lamp covers of automotive are always made from mold cavity with high polished surface finish.
C. Textured surface finish
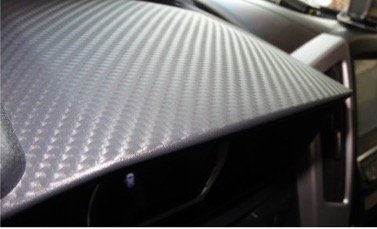
Texture is a metal surface treatment which is applied to cavity area instead of molded part, the purpose of texture is to provide certain pattern to cavity area inside mold. Parts made from the textured mold would have the same surface finish, they usually being sent to next step such as assembly/shipment right after molding. This surface finish requires more amount of time and cost in mold development. The lead time in development is longer than surface finish type A & B, on the other hand, the molded part can have higher level surface finish with simpler manufacturing process. See textured part example in Pic.-2 & 3.

Applying texture to mold cavity is a kind of metal surface treatment, by systematically removing and remaining certain area of metal from surface to create the pattern. It could be made by following steps:
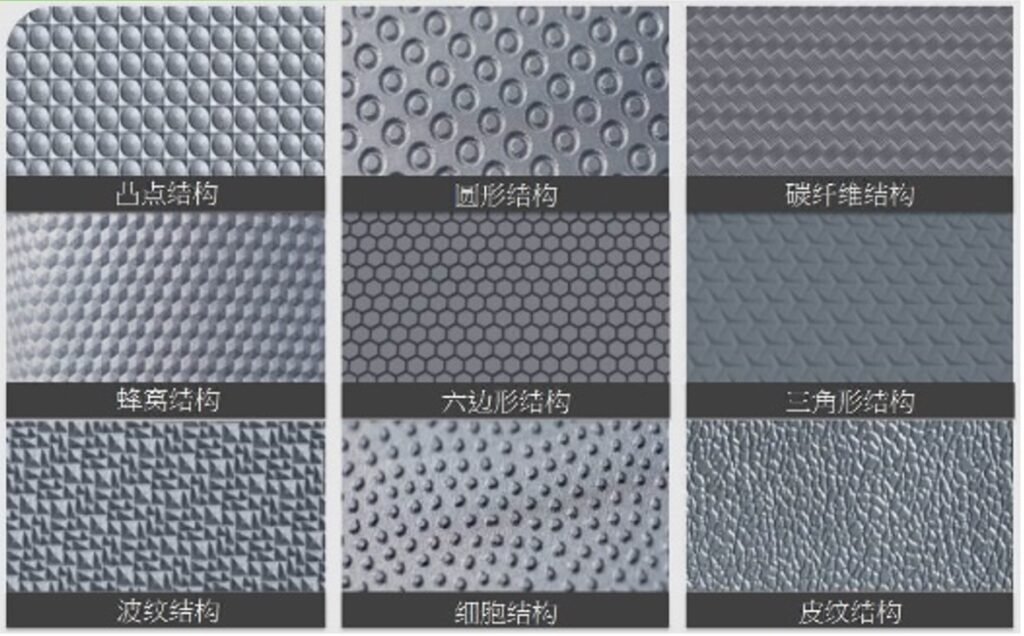
- Decide the pattern: Each pattern has its own name and #. The information could come from designer or a certain sample illustrated in Pic.-4. The decision shall be made before part design finalized since each texture design has its own implement requirement (e.g. draft angle requirement). If the part design could not accommodate essential draft angle, there could be cosmetic issue such as scratch on the molded part, texture depth and glossary of the surface finish of molded part could not meet the requirement.
- Applying pattern: The pattern usually being carried out by a “Film” which is similar to tattoo stickers, the pattern on the film is consisted of blank area and area with protective chemical.
- Applies the film with pattern into cavity area.
- Removes the film, the protective chemical would be transferred onto cavity area.
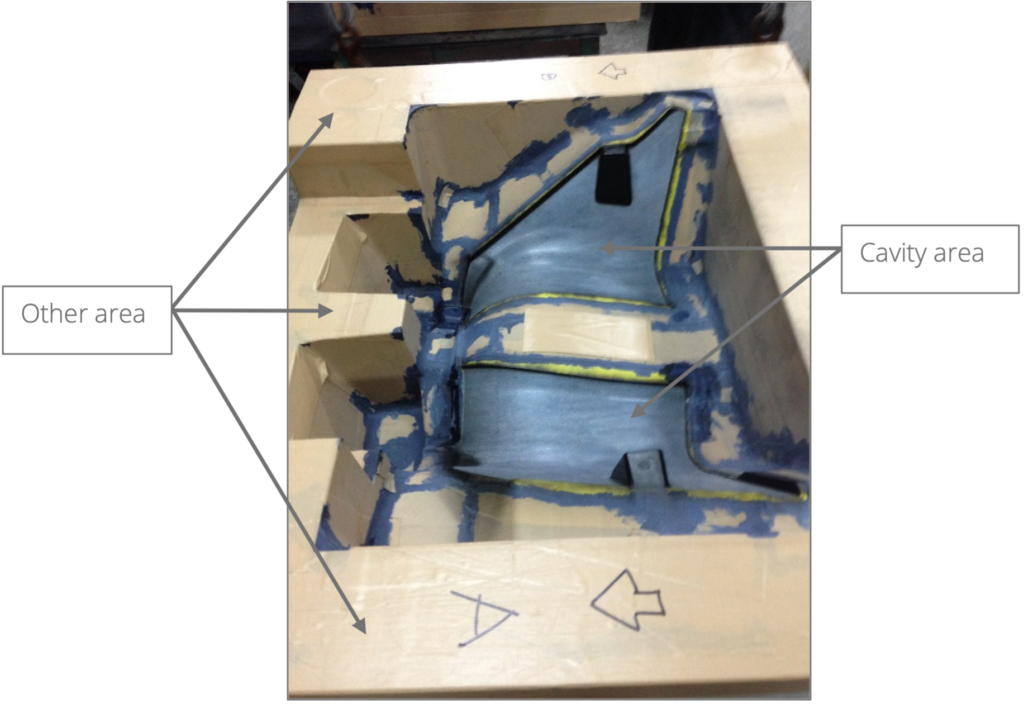
- Cover the cavity block by tape instead of cavity area, see example in Pic.-5.
- Apply corroding chemical (such as ferric oxide) into cavity area.
- The cavity area without protective chemical corrodes and rest of the area doesn’t.
- Remove the corroding chemical from cavity.
- Step d to f may need to be repeated (such as frequency and timing) according to instruction of different pattern.